Dutch Oven Sourdough Baking: Steam Science, Preheating & Crust Guide
🥖 Fine-Tune Dough Hydration for Cast Iron
Higher hydration loaves (75% to 82%) demand strong cast iron heat to hold vertical height. Use our interactive calculator to dial in your flour hydration and starter ratios:
Open Sourdough Hydration Calculator →Walk into any commercial European artisan bakery and you will see massive deck ovens equipped with pressurized steam injection valves. When bakeries load hundreds of baguettes or country boules, they flood the baking chamber with high-pressure wet steam. At home, standard consumer ovens are intentionally designed with ventilation flues to exhaust moisture, making it virtually impossible to maintain steam on a baking sheet.
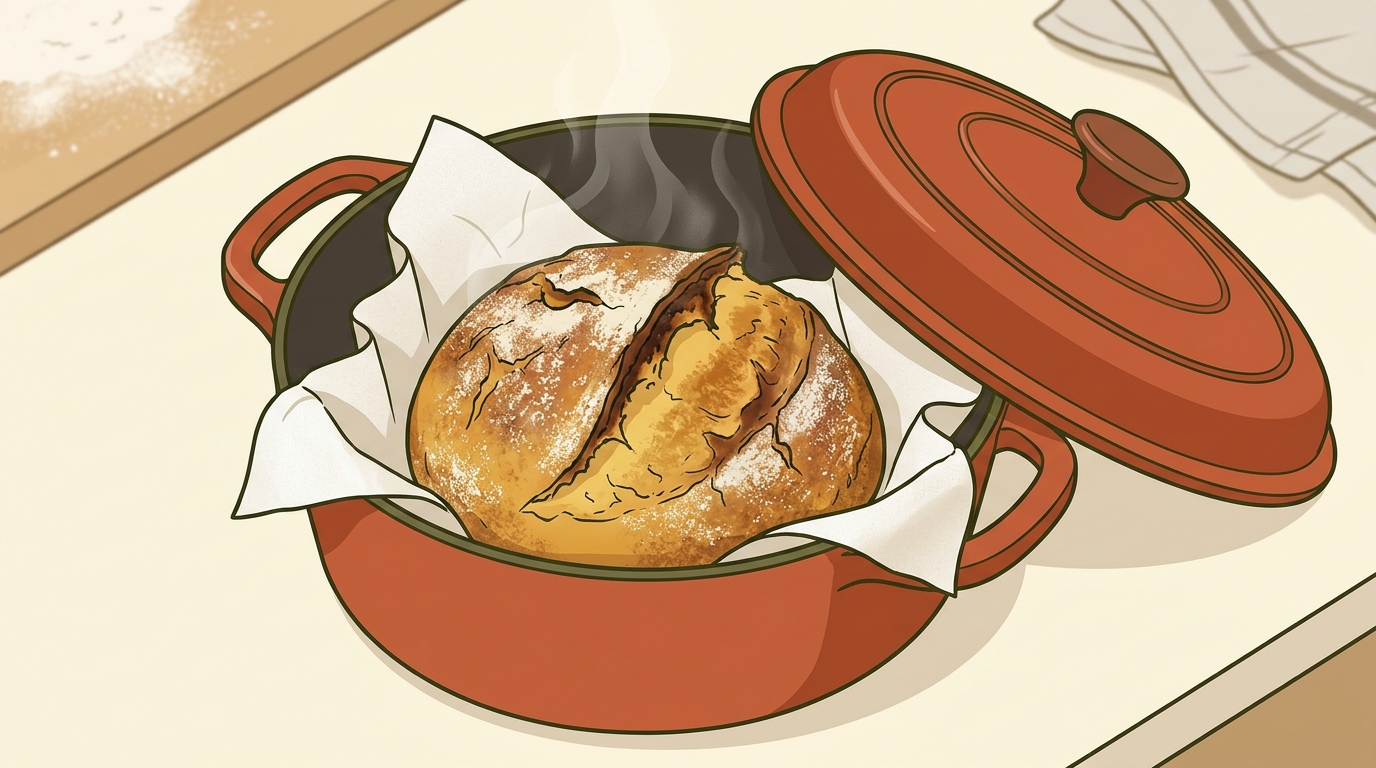
The heavy cast iron Dutch oven is the home baker’s great equalizer. By enclosing your sourdough boule inside a sealed 5-to-6-quart cast iron vessel, the moisture naturally evaporating from the dough is trapped within a tiny chamber. You have effectively built a miniature, self-steaming commercial deck oven on your kitchen rack.
The Thermodynamics of Steam: Why Dutch Ovens Work
To understand why baking in a Dutch oven creates dramatic "ears" and blistering while baking on an open sheet pan results in flat, dull loaves, we must look at the two distinct biological and chemical phases of bread baking:
| Bake Phase | Dutch Oven State | Oven Temperature | Biochemical Reaction in Loaf |
|---|---|---|---|
| Phase 1: Steam Expansion (0–20 min) | Lid ON (Sealed) | 450°F–475°F (232°C–245°C) | Yeast CO2 gas expansion; starches gelatinize without crust hardening; score cut expands into blooming ear |
| Phase 2: Maillard Browning (20–45 min) | Lid OFF (Vented) | 425°F–450°F (218°C–232°C) | Steam escapes; gelatinized surface starches dehydrate into thin, crispy glass; amino acids caramelize |
| Phase 3: Crumb Setting (Post-Bake) | Wire Cooling Rack | Room Temperature | Gelatinized starches re-crystallize (retrogradation); internal steam redistributes; crumb stabilizes |
Without trapped steam, the intense dry heat of your oven immediately bakes the exterior perimeter of the loaf into a rigid, hard shell within the first 4 minutes. When internal yeasts and trapped gases attempt to expand upward ("oven spring"), they hit this rigid cement shell and stall, resulting in a dense, compact crumb. Steam condenses onto the dough skin, transferring latent heat while keeping the exterior stretchy and pliable for a full 15 to 20 minutes until maximum vertical volume is reached.
Enameled Cast Iron vs. Raw Cast Iron vs. Combo Cooker
Not all Dutch ovens are created equal for bread baking. Here is how the most common styles compare:
- Raw Cast Iron (Lodge Style): Indestructible and can easily handle 550°F without concern. However, bare cast iron requires seasoning maintenance and can occasionally transfer a metallic aroma if steam condenses along the walls during prolonged high-moisture bakes.
- Enameled Cast Iron (Le Creuset, Staub, Tramontina): The glassy enamel coating protects iron from rust, is non-reactive, and cleans effortlessly with soapy water. Just ensure the lid handle is stainless steel rather than plastic or phenolic resin (which can melt above 375°F).
- Cast Iron Combo Cookers (Inverted Shallow Skillet with Deep Pot as Lid): The gold standard for baker ergonomics! Loading cold, delicate sourdough into a high-walled 6-quart pot carries a high risk of burning your knuckles against the 500°F rim. In a combo cooker, the shallow skillet serves as the base and the deep pot serves as the dome lid, allowing you to slide loaves on with zero knuckle burns.
The Preheating Protocol & The Ice Cube Trick
A common mistake is turning on the oven, waiting for the electronic preheat chime (which only measures air temperature), and dropping in the loaf. Cast iron possesses tremendous thermal mass, but absorbs heat slowly.
🔥 60-Minute Thermal Saturation Rule:
Always place the Dutch oven with its lid firmly on into a cold oven, then set to 475°F–500°F and allow a full 45 to 60 minutes of heating after the target temperature is reached. This guarantees the heavy base acts like a heated stone slab, driving instantaneous bottom heat into the dough.
The Pro-Baker Ice Cube Trick: For extra blistering and a blister-covered "ear", cut your parchment paper into a sling with two long lifting tabs. Lower the cold, scored dough into the blazing hot pot. Before closing the lid, drop two small ice cubes directly under the parchment paper edge along the rim (so the ice touches the iron, not the dough). Immediately snap the lid closed. The ice instantly converts into a blast of pressurized steam, elevating humidity to near 100%.
Frequently Asked Questions (People Also Ask)
Can I start baking bread in a cold Dutch oven without preheating?
While "cold start" baking is possible, it typically yields 15% to 25% less vertical oven spring and a thicker, chewier bottom crust. Preheating ensures the bottom of the dough hits 475°F instantly, triggering rapid gas expansion before the starches set.
Why does my sourdough stick to the bottom of the Dutch oven?
Never place raw sourdough directly onto bare unlined cast iron. Always use a sheet of unbleached parchment paper dusted with coarse semolina or rice flour. High-hydration dough will fuse to iron pores unless buffered by parchment.
How do I know when the sourdough loaf is fully baked inside?
Insert an instant-read digital thermometer into the center of the loaf. Sourdough bread is fully set when the core reaches 208°F to 210°F (98°C to 99°C). Removing bread below 205°F results in a gummy, wet interior after cooling.